


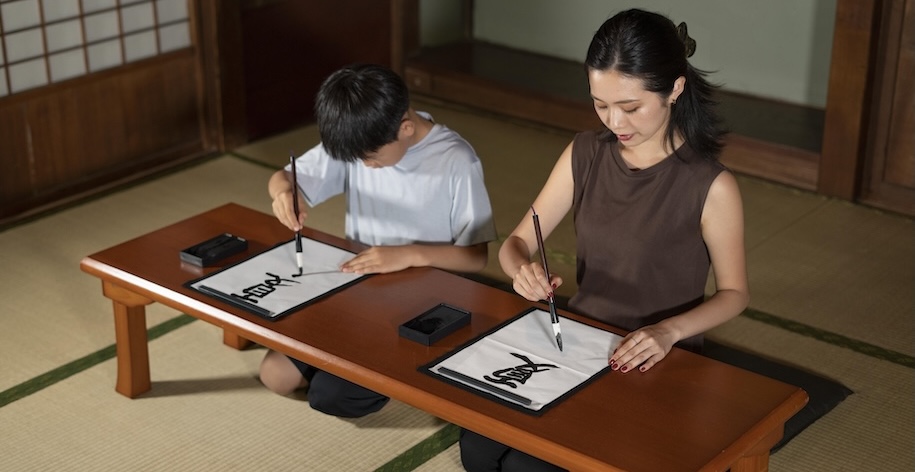

Vlogging may seem intimidating at first. But once you get started, the opportunities for video content creation are limitless.
With the overwhelming influence of social media in today’s society, a vlog (a hybrid of video and blog) is one of the most popular and interesting ways to discuss anything from daily living to in-depth information.
You may have been passing the time indoors during this time of pandemic by picking up new hobbies such as trying a new form of exercise, creating art, baking pastries, learning a second language, playing a musical instrument, or planting a garden.
Why not use vlogging to reach more people and share about your newfound passion?
Pretty much anyone can venture into vlogging: no matter how basic or intricate your ideas are, someone from your target audience will discover something new to discover from your content.
In this article, you will find out about the basic must-have equipment for vlogging, including some wearable tech accessories that may help you start vlogging on a budget.
You’ll also learn some budgeting techniques when purchasing gadgets. Let’s get started!
The Trend of Vlogging
With the trend of creating personalized channels and uploading films to highlight various elements becoming increasingly popular, vloggers are rising these days.
This has resulted in the rise of a new trend, which entails video creation and sharing.
Video trends are taking over the content of many websites. As a matter of fact, in recent years, Facebook and Instagram have made significant investments in video creators.
As of 2020, there were around 40 million gaming channels on YouTube. And there’s an increasing number of lifestyle, beauty, and other types of vloggers joining in the trend.
It is known that YouTube vloggers with many subscribers and video views earn significantly.
Vlogging has a number of advantages. The most important of which is that it promotes creativity rather than imposing eligibility criteria on creators.
Age is also not a factor here, although a skill in video editing can give you an edge. Basically, anyone can use video creation to express their creativity.
Vlogging Equipment Essentials
Now that you understand how vlogging is exponentially taking the social media platform by storm, you might be amped up to hit the ground running.
But first things first, you’ll need a few things to get started with vlogging.
As mentioned earlier, you’ll learn about the essential vlogging equipment in this article. Of course, you won’t have to acquire all of these devices on the very first day.
However, the more you have, the higher the quality of your videos. The easier it is to create and edit them, the better the outcome. Here is the basic vlogging equipment you’ll need:
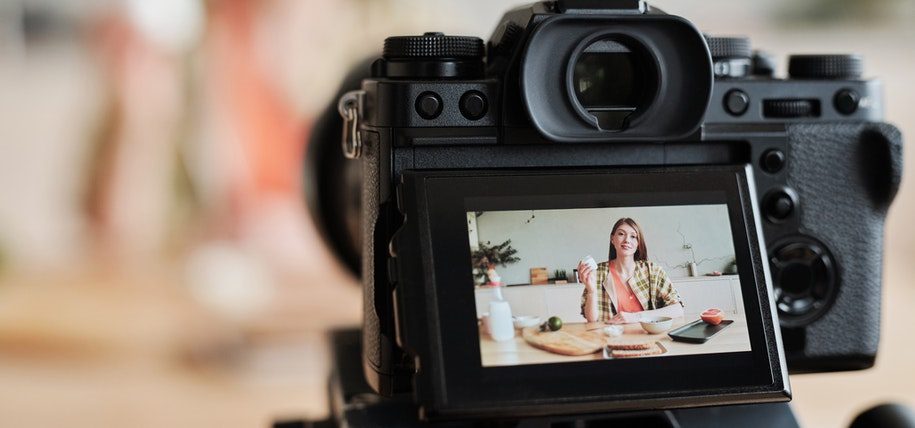
1. Camera
To begin with, you don’t need a super-expensive camera to generate good material.
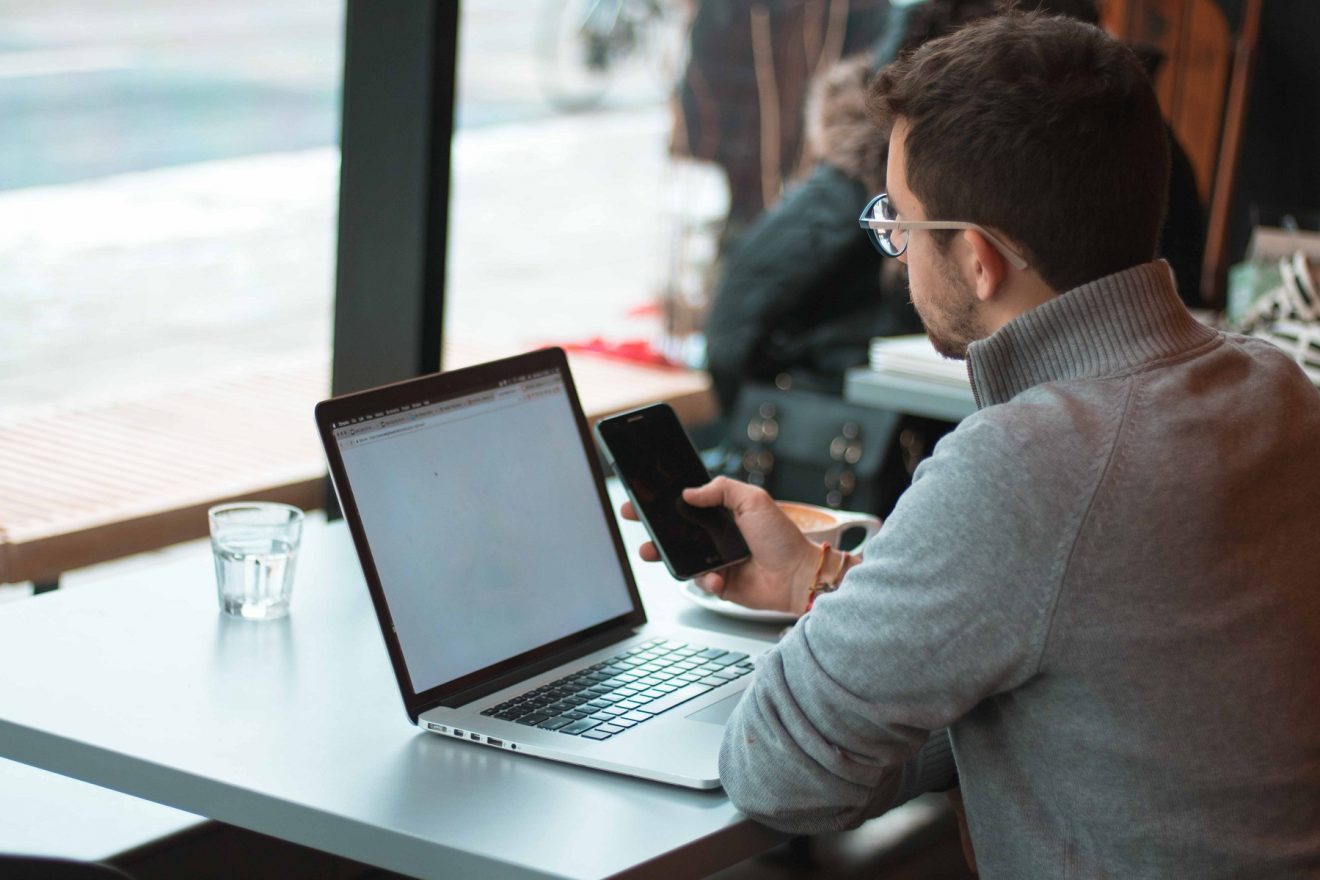
Many video bloggers utilize what they already have, which is either their computer’s built-in webcam or even their smartphone, with the latter often producing better results these days.
That could suffice for “talking head” videos where you simply sit in front of a camera. A higher-quality video will undoubtedly be seen and appreciated by your audience, as it will exude professionalism, which will ideally keep people interested and watching.
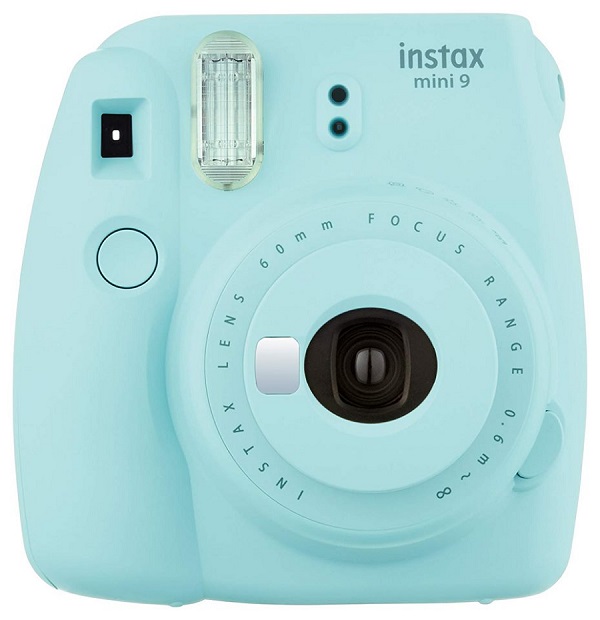
There are excellent choices available, especially for photographers on a tight budget. You may go for a simple camcorder, a low-cost DSLR, a mirrorless camera, or even a GoPro.
Determine your budget, level of experience, and the type of video you’ll shoot to help you choose the right camera for your vlogging needs.
For the best wearable camera, you can check out our GoPro HERO9 Black, Insta360 Go, DJI Osmo Action, Spectacles 2, and Mofily YoCam.
There’s also SereneLife Clip-on Wearable Camera if you’re looking for an affordable option.
2. Support
A tripod will be required to support your camera, especially if you need to move your camera often from one place to another.
Tripods such as the Magnus VT-4000 or the Benro S4 Head with Aluminum Flip Lock Legs would be good selections for heavy cameras.
However, any robust choice would suffice, especially if you only intend to have a stationary camera set up in your room.
Other possibilities for support include a compact tripod, such as the Oben TT-100 if your camera will be mounted on a desk or table,
or a Joby GorillaPod for travel vloggers. You might want to try a selfie stick if you’re filming with a GoPro on the fly.
Pro tip: to keep framing consistent throughout videos, mark your desk or table with tape.
3. Lighting
When it comes to video blogging, there’s really no need for fancy lighting. Your major objective is to draw the spectators’ attention to your content while avoiding any unattractive shadows on the face (if you show your face on camera).
While you can use ambient lighting in your house or natural light from strategically positioned windows, you can invest in a simple soft-light kit for a consistent and professional aesthetic throughout your films.
You’ll need to ensure having separate lighting for the green screen (if you plan to use one) in order to pull a clean chroma key.
An equal illumination on the green screen means better output. It’s also crucial to keep as much space as possible between yourself and the green screen to avoid spills.
4. Microphone
Bad audio can ruin your videos and throw off your viewers almost instantly. Most viewers can overlook poor lighting and substandard video quality, but they are unlikely to stay for long if the audio is intolerable.
The simplest approach to increase the quality of your audio is to use an external microphone instead of the built-in microphones on your camera (or computer if you’re using a webcam).
An even better method is to record audio from an external microphone to a portable recorder, avoiding the often subpar audio preamps produced in tiny cameras.
Also, if you’re in the market for a wearable microphone, Rode SmartLav+ is a versatile external mic that suits all smartphones. It’s very handy and easy to use for vlogging and even broadcasting.
5. Portable Audio Recorder
If you’re dealing with professional XLR mics, a portable audio recorder like the Zoom H4n or Tascam DR-40 is essential.
It also enables you to record higher-quality sound, commonly in the WAV audio format, by bypassing the low-quality preamps included in DSLRs and other compact cameras.
Many portable recorders include high-quality built-in microphones that, when placed close enough, can produce good results with only the portable recorder.
The independently recorded audio file can be synced with your video either automatically using software like PluralEyes, or manually through your editing software by matching waveform spikes with in-camera audio.
Vloggers that shoot food, workout, and lifestyle content often overlay recorded audio files in their videos to narrate their content.
6. Editing Software
Having covered camera, lighting, and microphone, all that’s necessary left is a non-linear editing (NLE) program and a computer to run it on to splice together your newly recorded content.
Unless you’re using a small netbook or tablet, most computers nowadays have the specifications to run at least basic editing software, so your present system is more than adequate.
To ensure that your computer can handle the software, pay heed to the recommended specs mentioned with it. In case you do not have NLE software on your computer yet, there are numerous solutions accessible to you.
Adobe Premiere Pro, Apple’s Final Cut Pro X, and Sony Vegas Pro are all professional products that offer all the tools you need to edit your video.
If you’ve never used an NLE before, these tools will have a learning curve, so if you’re scared to plunge right in, you can always pick more user-friendly solutions, such as Adobe Premiere Elements or even Apple iMovie for simple editing.
You don’t have to spend big for a powerful laptop that can run video editing software. When you have a budget, you could buy a used MacBook to get started.
Alternatively, there are video editing apps like VLLO accessible through smartphones and tablets you can also explore. Video editing apps like VLLO let users create and edit content easily with its intuitive interface.
Key Takeaways
In terms of video work, vlogging isn’t all that difficult. With just a simple set of video equipment, you may significantly increase the production value of your output.
A good camera, some basic lighting, and an external microphone will help you generate professional-looking (and sounding) footage.
Since vlogs are dialogue-heavy, keep in mind that it is crucial to capture decent audio, which should be a primary concern.
Of course, there are other factors to consider besides equipment. For one, the scene you’re recording might have a significant impact on the production value of your segments. Try to shoot in decent places or settings, as it can give viewers an initial feeling of the blog’s topic matter.
Finally, it doesn’t matter how over-the-top your videos look and sound if no one knows they exist, so consistent internet promotion and a well-thought-out marketing strategy are critical to the success of your channel.

Add Comment