










What Is a HUS File and Why Does It Matter?
You have a beautiful logo or a treasured photo that would look incredible as an embroidery piece. But your Husqvarna Viking machine just stares back at you when you try to load the image file. That is because your machine speaks a completely different language.
The HUS Embroidery File from Image is the key to unlocking your machine's potential. HUS files contain detailed stitch instructions that tell your embroidery machine exactly where to place every single stitch, what direction to sew, and when to change thread colors . Standard image files like JPG or PNG only show colors and shapes on a screen. They have no idea how to guide a needle.
A Quick History Lesson on HUS Format
Knowing a bit about where this format comes from helps you understand why it works the way it does. Husqvarna Viking, a Swedish company with a long history in sewing machines, developed the HUS format for their computerized embroidery machines back in the early 1990s . These machines originally used specialized memory cards, then moved to floppy disks, and eventually USB connections.
The HUS format was the standard for many years before being replaced by the VIP format later on . Some people even consider it a bit dated, but many Husqvarna Viking machines still support it perfectly. If you have an older machine or a specific model that prefers HUS, this format remains essential.
Image Files vs. Embroidery Files
This is where a lot of beginners get confused. Let me clear it up for good.
A JPG or PNG file is just a collection of pixels. It tells your computer what colors to display where. Open it on any screen and it looks the same. But an embroidery file like HUS is entirely different. It contains actual machine code that controls the movement of the hoop and needle. It stores stitch commands like trim, jump, and stop signals .
You cannot simply rename a .JPG to .HUS and expect it to work. The conversion process requires real work to translate visual information into stitch data. Many people make this mistake and end up frustrated when their machine rejects the file.
Understanding Husqvarna Viking File Compatibility
Before you go too far down the conversion path, check which formats your specific Husqvarna Viking model actually supports. Most Husqvarna Viking machines work with VP3, HUS, and VIP files . Some models can also read common formats like DST or PES .
Here is the important thing. HUS files are specifically designed for Husqvarna Viking machines. While some other embroidery machines can read them, the format is proprietary to Husqvarna . If you own a Husqvarna Viking machine, HUS is one of your best options.
How to Convert Your Image to HUS
You have several paths to turn your image into a working HUS file. Each has its own pros and cons.
Professional Digitizing Software
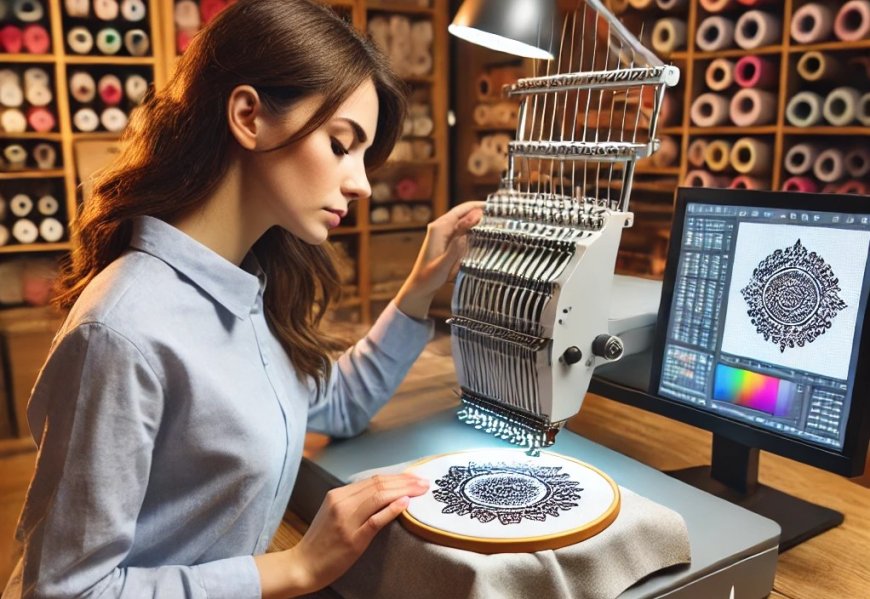
This is the most powerful method, but it comes with a steep learning curve. Software like Wilcom Embroidery Studio, Hatch Embroidery, Tajima Pulse, or Embird can handle the conversion . You import your image, trace the design, assign stitch types, adjust density and pull compensation, and export as HUS.
Here is the catch. Learning to use this software effectively can take about a year of practice . You need to manage stitch order, density, angle, type, and color areas manually. Professional digitizers spend years mastering these skills. The software itself is also expensive, making this option impractical if you only need occasional conversions.
The Reality of Online Converters
You will find websites promising one-click conversion from image to HUS. Be very careful with these. Many online converters are misleading at best. They often redirect you to ads, try to steal your data, or infect your device with malware . Even when they work, the results are rarely usable because auto-conversion cannot handle the complexity of embroidery digitizing.
Auto-Digitizing Feature in Software
Some embroidery software includes auto-digitizing features. The software uses algorithms to detect colors, layers, and stitch paths automatically. This sounds convenient, but the results are often disappointing . Auto-digitizing only works for very basic, usually single-color designs. The technology is still developing and frequently produces designs with stitching problems and a lack of professional appearance.
Hiring a Professional Digitizing Service
This is the most practical solution for most people. Professional digitizing services employ skilled digitizers who use professional software to convert your images properly . You submit your artwork in any common format, and they deliver a high-quality HUS file ready for your machine.
The turnaround time is usually fast, often between 2 to 12 hours . Prices start at around $10 per logo conversion . You avoid the expensive software purchase and the long learning curve. Professional services like Absolute Digitizing specialize in this work and can handle complex logos, photos, and custom designs .
Steps for DIY Digitizing
If you are determined to learn the skill yourself, here is a general workflow for converting images to HUS.
Start by importing your image into your digitizing software. Set the correct size for your project. Then trace the outlines of each element in your design. You need to define every shape that will become a separate stitch area.
Different parts of your image will need different stitch types. Satin stitches work well for outlines and letters. Fill stitches cover larger areas. Fine details might need running stitches . You also need to adjust density based on your fabric type. Dense fabrics can handle more stitches, while delicate fabrics need lighter density.
Underlay stitches provide a foundation that stabilizes the fabric. Pull compensation corrects for fabric stretch and distortion. These adjustments separate good designs from great ones .
Once you finish the digitizing, export your file as HUS. Always test your design with a sample stitch-out on similar fabric before running your final project. This catches any issues with density, tension, or positioning.
Common Mistakes to Avoid
Skipping the test stitch-out is one of the biggest mistakes beginners make. You cannot tell how a design will really stitch just by looking at it on screen . Fabric behaves differently from pixels.
Another common error is using too high stitch density. Dense designs can cause thread breaks and fabric puckering. Matching density to your specific fabric type is essential.
Many people also ignore pull compensation, which leads to distorted shapes. Your design on screen might look perfect, but without compensation, the stitches pull the fabric and change the shape.
Conclusion
Converting your images into HUS embroidery files opens up a world of creative possibilities. Your logos, photos, and custom artwork can become beautiful embroidered pieces with the right approach. While the technical aspects can seem overwhelming, you have options.
For most people, hiring a professional digitizing service is the smartest choice. You get high-quality results without investing months in learning software or dealing with unreliable online converters. The cost is reasonable, the turnaround is fast, and the results are reliable.
If you are passionate about learning digitizing yourself, start with simpler designs and work your way up. Expect a learning curve and be patient with yourself. Every design teaches you something new.
Your Husqvarna Viking machine is capable of incredible work. Give it the right HUS files, and it will transform your images into stunning embroidery that lasts.





Add Comment