


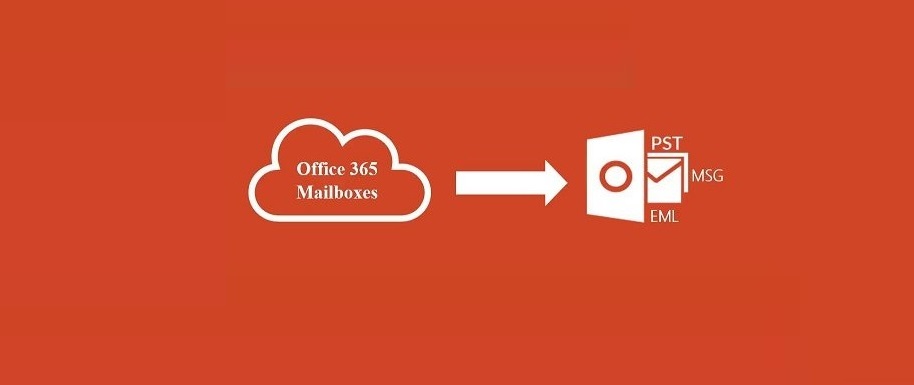
This article explains the complete manual procedure to take a complete copy of an Office 365 mailbox into a popular PST file format on your PC. So, let’s begin!
It is true, there is no dedicated solution that can create a backup of Microsoft Office 365 Exchange Online mails data in PST format. So, all you need to take help of some indirect approach.
For this, it is great to use eDiscovery procedure. Using this, it is easy to search content in Office 365 mailbox and hold it for a certain period.
Afterward, download the eDiscovery PST Export Tool and download Office 365 emails to PST format on the local system. Also, this method is only handled by the Office 365 admin portal.
Let’s see how this process executes.
Manual Method to Download Office 365 Emails to PST
Originally, the six different stages that lead one another. All of the phases are mandatory to follow for taking the backup of Office 365 data. Else, it is impossible to download data from it.
Phase #1 – Provide eDiscovery Permissions
- Step 1: Login to Office 365 account as an administrator.
- Step 2: Under the Office 365 Security & Compliance section, opt for Permissions.
- Step 3: Afterward, click on eDiscovery Manager >> Edit role group.
- Step 4: Move to Choose eDiscovery Administrator and hit on Edit button to include the member.
- Step 5: Click on +Add option.
- Step 6: Type the initials of the member name under the search box and choose it by selecting its corresponding checkbox.
- Step 7: Once the above steps completed successfully, click on Done.
Phase #2 – Make eDiscovery New Case For Office 365 Export Process
- Step 1: Login to Office 365 and go to the eDiscovery option.
- Step 2: From the drop-down menu, choose eDiscovery.
- Step 3: Now, click on +Create.
- Step 4: Enter a Case Name under the New Case wizard and hit the Save. Always ensure that Case Name must be unique.
- Step 5: All the created case name gets listed in the cases. One can easily hover the mouse over the Case Name to get all its details. Here, admin can rename the case if required.
Phase #3: Time to Include Members to Manage Case
- Step 1: You need to click on the case name in order to open the Manage this case on the window.
- Step 2: Click +Add option.
- Step 3: From the subsequent window, click on Add >> Save. Alternatively, use Manage role groups in order to add role groups.
Phase #4: Create Hold in Office 365
- Step 1: Time to click on Open.
- Step 2: From the subsequent window, opt for the Holds button.
- Step 3: Afterward, select +Create.
- Step 4: From the Create a new hold section, input a name for the hold which is meaningful and include a Description too & click Next.
- Step 5: Finally, hit the Next.
- Step 6: In Query conditions section, provide the keyword for the content hold process.
- Step 7: Take a minute and review all the settings. Then, hit the Create this hold to proceed further.
Phase #5: Search Content in Office 365 Account
- Step 1: Opt for Open >> Searches >> +New search.
- Step 2: Afterward, click on Specific Locations and click Modify…. button.
- Step 3: Now, click Save & run to continue.
- Step 4: Input a name for the search along with a description and click on Save.
Phase #6: Download eDiscovery PST Export Tool to Download Office 365 Emails to PST
Before installing the eDiscovery Export Tool, make sure you fulfilled the following pre-requisites.
- Need for Windows Operating System 7 or the new release.
- Must have Microsoft .Net framework.
- The latest version of Internet Explorer is needed.
- Afterward, follow the below instructions.
- Step 1: Select More >> Export results.
- Step 2: Hit on Export button from the Export results window.
- Step 3: To view the list, click on the tab named Exports.
- Step 4: Now, opt for Download results to install the eDiscovery PST Export Tool.
- Step 5: Afterward, copy the Export Key that will be used further for the tool installation.
- Step 6: Click on Install to initiate the downloading process.
- Start 7: Once it is downloaded, click on Start task to manually export Office 365 mailbox to PST file format.
Automated Solution to Export Emails from Office 365 to PST
If you don’t wish to go through the trouble of such a complex approach every time when you decided to download Office 365 emails to PST of multiple user accounts, then opt for an automated tool.
There are many automated tools are available in the market that allows downloading emails from multiple Office 365 account.
But to save you from the trouble of testing each one, we picked the best Office 365 Export tool from SysTools. It not only allows to export normal user mailbox but also archive and shared mailbox emails also.
Visit the official website and test the demo version of the tool, that allows exporting the first 25 emails and other items for free.
Conclusion
That’s all about, what is the manual method to download Office 365 emails to PST. It is evident from above that multiple steps are needed to execute for the same. Instead of following this approach, it is good to use a direct method that is described in this blog.
This informative article guides you with a very easy method that let you to save emails of Office 365 OWA in PST format on the local computer.
Also Read: Office 365 Cloud to Cloud Migration Step by Step Guide


Add Comment