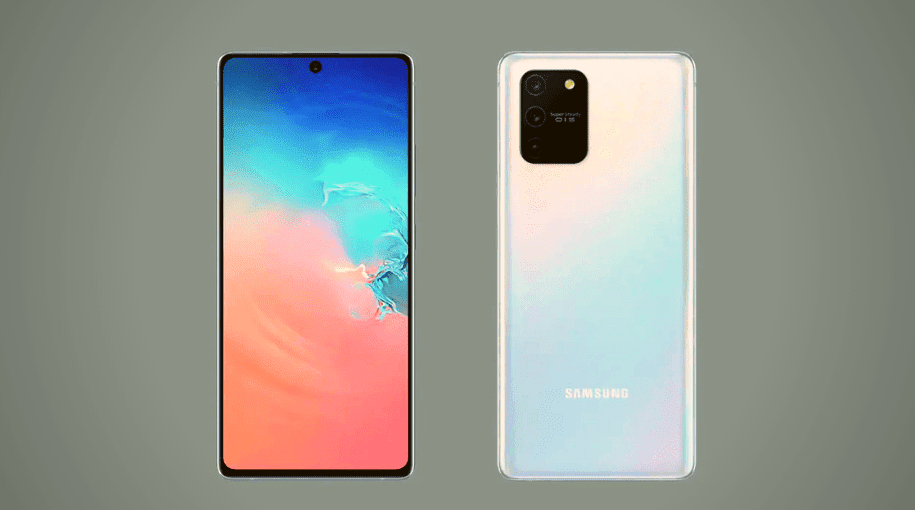
The error message that is no sim card detected indicates that your Sim card is damaged or some minor problem is present within your Samsung Galaxy S10.
But according to some Android users, this error comes due to the signal issued by the network or area. In my opinion, it is not a signal issue because you are getting an error. No Sim card is detected, not a No service.
If you are a Samsung Galaxy S10 and facing this type of issue, then don’t worry. We will tell you all the steps to fix this issue, so read the complete article very carefully.
How to resolve no Sim card detected an error on Samsung Galaxy S10:
This error is a straightforward problem, and you can resolve this by yourself with the help of a simple restart of your Samsung Galaxy S10. However, if the problem is not solved with the help of restart, try other solutions below.
Reboot your Samsung Galaxy S10:
Before doing anything with your Samsung Galaxy S10 or going to the Samsung official store, it’s best to solve this problem by rebooting your device, and all the steps are given below.
- Press and hold the volume up button and power button for 10 seconds at the same time until your Samsung Galaxy S10 turns off.
- Wait for few seconds to appear the maintenance start mode screen
- Highlight the Normal Startup from the maintenance start mode screen
- You can highlight this option with the help of volume buttons
- After highlighting this option select it with the lower left button
- Now wait for 90 seconds to completely restart your Samsung Galaxy S10
Reinstall your Sim card:
The error mentions that the Sim card is not detected, then for this, the other logical step is to reinstall your Sim card.
- First, turn off your Samsung Galaxy S10. It is very important because inserting a Sim while your device is on maybe result in the data corruption
- Now remove the card tray with the help of the insertion/removal tool
- Remove Sim card of your Galaxy S10 from the tray
- Wait for some moments and again reinsert the Sim card, after this insert again sim tray into your Samsung Galaxy S10
- Carefully press the tray to lock it
- Now turn on your Samsung Galaxy S10
Clear cache partition of your Samsung Galaxy S10:
We all know that Android uses a system cache, and it is stored in the cache partition. With the help of this system cache, all applications are load very quickly.
But sometimes, after any update or any other reason, this cache gets corrupted, and it causes different types of issues in your device, like performance issues or other minor problems.
You have to clear the cache partition to confirm that your device’s system cache is updated. All the steps to do this are given below.
- Turn off your Samsung Galaxy S10
- Hold down the Bixby keys and volume up button and then press and hold the power button at the same time
- Release all the buttons when the Android logo is displayed on your screen
- Before displaying the Android system recovery menu the options Installation of the system update will be displayed for the 30 to 60 seconds
- Now highlight the option wipe cache partition by pressing the volume up button for several times
- Select the highlighted option by pressing the power button
- Highlight the Yes option by pressing the volume up button
- Select this Yes option with power button
- Highlight the Restart the system now option when the cache partition is cleared
- Press the power button of your Samsung Galaxy S10 to restart your device
Reset all network settings of your device:
If the problem still occurs, you should reset all the network settings. If there is a network problem, this process is the most important. All the steps to do this are given below.
- First swipe up on an empty space from the home screen to open the apps tray
- Now tap on the General Management option
- Click on the Reset option and then Reset Network Settings
- Now tap on the Reset settings
- Enter a pin code or pattern
- When all the process is finished then a confirmation window will be displayed on your screen
Check for the wrong applications:
Some bad applications may cause this type of problem. Start your Samsung Galaxy S10 to check whether the third-party application is causing this issue or not. Follow all the given steps.
- Turn off your phone
- After the model name screen press and hold the power button
- Release the power button when the Samsung appears on your screen
- After releasing the power button immediately press and hold the volume down button until your Samsung Galaxy S10 restarts completely
- On the lower left screen of your device, safe mode will appear
- Now after seeing the safe mode release the volume down button
- Once your phone is in the safe mode use your Samsung Galaxy S10 for 30 minutes
The safe mode is not a complete solution. It is a tool to check whether a third-party application is causing this problem or not.
If your Samsung Galaxy S10 detects your Sim card, then it is confirmed that no Sim detection error occurs by the third-party application.
Reset phone settings:
After doing all the above-given steps, it is the final process to solve the no sim detection error. If you are going to do a factory reset, then follow all the given steps
- Turn off your Samsung Galaxy S10
- Press and hold the Bixby keys, volume up button and power button at the same time
- Release all the buttons when the Android logo appears
- Before displaying the Android system recovery menu the options Installation of the system update will be displayed for the 30 to 60 seconds
- Highlight the clear data/reset factory settings with the volume down button
- Select this option with the power button
- Now highlight the option named as Yes delete all user data
- Confirm this with power button
- After master reset the option is highlighted named as Restart the system now
- In the end, press the power button of your Galaxy S10 to restart your device
If all the above-given steps are not working for you, you have to go to the local Samsung service center to solve your Samsung Galaxy S10 issues.


Add Comment