











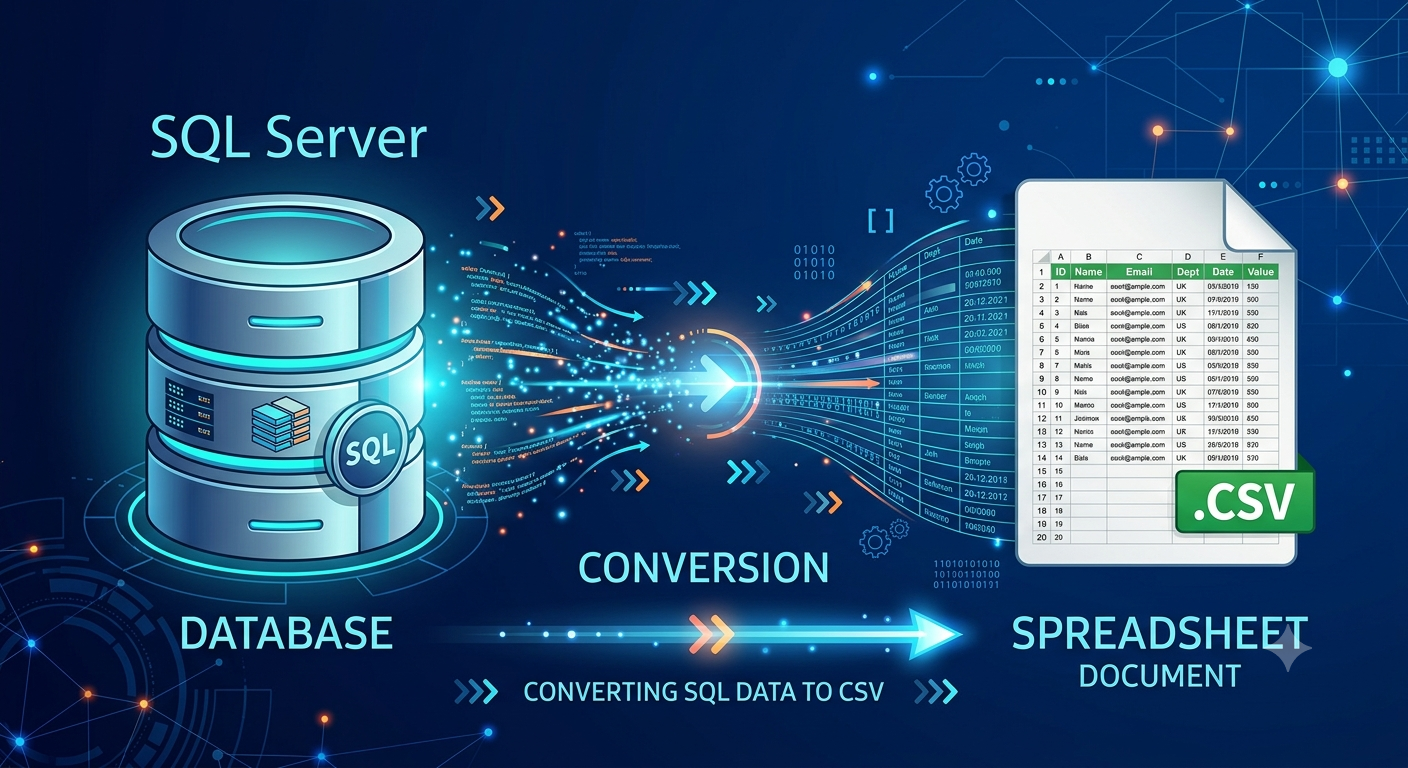


CSV (Comma-Separated Values) is a simple, portable file format used to store tabular data in rows and columns. Because CSV files are supported by Excel, Power BI, Python, R, and many database systems, exporting SQL Server data to CSV is a common requirement for reporting, analysis, migration, and data sharing.
In this guide, we will explain how to convert a SQL Server database to CSV file format using practical methods, including SQL Server Management Studio (SSMS), T-SQL, and the bcp utility.
Note: A SQL Server database can contain multiple tables, views, stored procedures, indexes, relationships, and other objects. CSV stores tabular data only. Therefore, converting a database to CSV generally means exporting the required table or query results rather than preserving the complete database structure.
Why Convert SQL Server Database to CSV?
There are several reasons to export SQL Server data to CSV format:
- Data analysis: CSV files can be opened directly in Microsoft Excel and other analytical applications.
- Data migration: CSV provides a simple intermediate format for moving table data between systems.
- Reporting: Database query results can be exported for reporting and distribution.
- Application compatibility: Almost every modern data-processing application supports CSV.
- Backup of selected data: Specific tables or query results can be retained in a lightweight format.
- Data sharing: CSV files are easier to transfer and share than complete SQL Server database files.
Things to Consider Before Exporting SQL Server Data
Before converting SQL Server data to CSV, determine what you actually need to export. A database may contain hundreds of tables, while CSV is normally used for individual tables or selected datasets.
Also consider:
- The tables or queries that need to be exported.
- The required columns and rows.
- Whether NULL values should remain empty.
- The delimiter required by the target application.
- Character encoding, especially for non-English data.
- Whether column headers should be included.
- How dates, decimals, and other data types should be represented.
- Whether sensitive or confidential information should be excluded.
What If the SQL Server Database Is Corrupt?
Exporting data becomes more difficult when the database is damaged, inaccessible, or cannot be opened normally in SQL Server.
In such cases, first determine the type and severity of corruption. You can run:
DBCC CHECKDB ('DatabaseName');
This command checks the logical and physical integrity of the database and reports detected errors.
If the database cannot be accessed normally or critical MDF/NDF structures are damaged, conventional CSV export methods may fail because SQL Server cannot reliably read the underlying records.
For severely corrupted databases, a dedicated solution like SysTools SQL Server Recovery Tool can be considered to scan damaged MDF/NDF files, recover accessible database objects and data, and provide export options when normal SQL Server access is unavailable.
Method 1: Export SQL Server Table to CSV Using SSMS
SQL Server Management Studio provides an easy way to export SQL Server table data to a flat file.
Step 1: Open SQL Server Management Studio
Launch SSMS and connect to the SQL Server instance containing the database.
Step 2: Select the Database
In Object Explorer, expand Databases and locate the database containing the table you want to export.
Step 3: Start the Export Wizard
Right-click the database and select:
Tasks → Export Data
This opens the SQL Server Import and Export Wizard.
Step 4: Select SQL Server as the Source
Under Data source, select the appropriate SQL Server provider and specify the server, authentication method, and database.
Click Next.
Step 5: Select Flat File Destination
For the destination, select Flat File Destination.
Specify the path and filename where the CSV file should be created.
For example:
C:\Exports\CustomerData.csv
Step 6: Configure CSV Settings
Configure the file format as required:
- Select Delimited.
- Set the delimiter to comma (,).
- Specify whether column names should be included.
- Select the appropriate text qualifier if required.
- Configure the required encoding.
Step 7: Select the Table
Choose the SQL Server table that needs to be exported.
You can also use the option to write a query if you only want selected records or columns.
Step 8: Run the Export
Review the configuration and execute the wizard.
Once the operation completes, open the destination folder and verify the generated CSV file.
Method 2: Export SQL Server Query Results to CSV
If you do not want to export an entire table, you can export the results of a SQL query.
For example:
SELECT CustomerID, CustomerName, Email
FROM Customers
WHERE Status = 'Active';
Run the query in SSMS.
Then select:
Query → Results To → Results to File
Alternatively, use the shortcut:
Ctrl + Shift + F
Execute the query and provide a filename for the output.
This approach is useful when you need to export only specific columns, filtered records, or data generated by joins.
Why Use a Query for CSV Export?
A query-based export provides greater control over the data. You can:
- Export selected columns.
- Filter records using WHERE.
- Combine tables using JOIN.
- Sort records using ORDER BY.
- Aggregate information using GROUP BY.
- Export calculated values.
- Create a custom dataset for reporting.
Method 3: Convert SQL Server Table to CSV Using BCP
The Bulk Copy Program (BCP) is a command-line utility provided with SQL Server. It is useful for exporting large amounts of table data.
The basic syntax is:
bcp "SELECT * FROM DatabaseName.dbo.TableName" queryout "C:\Exports\TableData.csv" -c -t, -T -S ServerName
Here:
- bcp runs the Bulk Copy Program.
- queryout specifies that the output comes from a query.
- -c exports data using character format.
- -t, specifies a comma as the field delimiter.
- -T uses Windows authentication.
- -S specifies the SQL Server instance.
For SQL Server authentication, you can use the appropriate username and password parameters instead of Windows authentication.
Important BCP Consideration
BCP is powerful for large datasets and automation, but it requires familiarity with command-line parameters. It is therefore more suitable for database administrators and users who regularly perform scripted exports.
How to Export Only Selected SQL Server Data to CSV?
You do not always need to export an entire table. SQL queries allow you to create a specific dataset before exporting it.
For example:
SELECT OrderID, CustomerID, OrderDate, TotalAmount
FROM Orders
WHERE OrderDate >= '2026-01-01';
The resulting dataset can then be exported through SSMS, BCP, or PowerShell.
This method is useful when the database contains a large amount of data but only a specific date range or subset is required.
Best Practices for SQL Server to CSV Conversion
Follow these practices to make CSV exports more reliable:
- Export only required data to reduce file size and processing time.
- Use query-based exports when you need filtered or customized datasets.
- Verify encoding when exporting multilingual or special-character data.
- Check delimiters and text qualifiers before importing CSV into another application.
- Validate row counts between SQL Server and the exported file.
- Keep SQL Server backups separately because CSV is not a complete database backup.
- Test large exports before running them in production environments.
- Avoid exposing sensitive columns unnecessarily during data export.
Conclusion
Converting a SQL Server database to CSV file format is useful when database data needs to be analyzed, shared, migrated, or imported into another application. For occasional exports, the SSMS Export Wizard is one of the simplest options. Query-based exports provide more control, while BCP and PowerShell are better suited to large or recurring exports.
Remember that CSV is a data-exchange format, not a complete SQL Server backup. If you need to preserve the database structure, relationships, security settings, and other SQL Server objects, use a proper SQL Server backup or migration approach alongside any CSV exports.








Add Comment