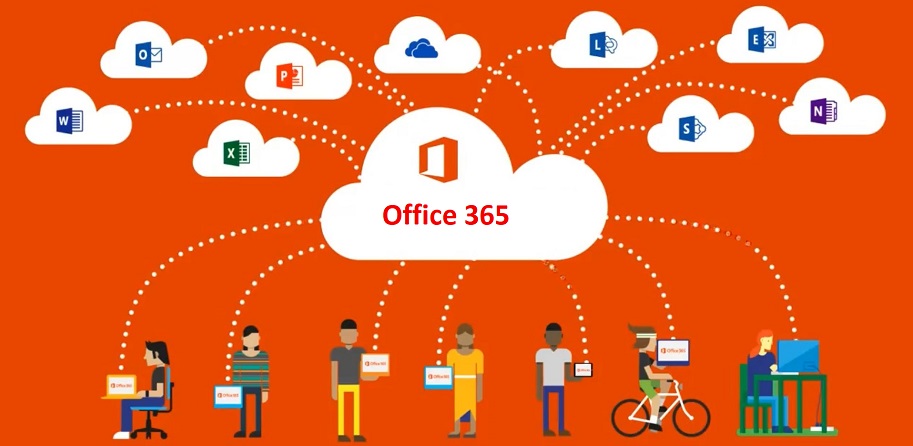
Since its release, Office 365 has enjoyed explosive popularity and more and more organizations have started using the service.
However, as events such as mergers, many organizations are now faced with managing multiple Office 365 tenants and need to collaborate or migrate across “clouds”.
However, performing manual migration of business-critical and sensitive data is quite a cumbersome task.
Therefore, in this guide, we will provide a step-by-step process to perform Office 365 cloud to cloud migration in the easiest manner using the best cloud migration tool from SysTools.
Key Features of Automated Migration Tool – Detailed Explanation
1. Full data migration:
This is a complete solution for users who want to migrate their data from the Office 365 platform to other tenants or other platforms.
The software allows users to export emails, calendars, contacts, and documents (OneDrive data) from their mailbox without losing any data.
2. Domain migration:
Users can choose this Office 365 migration tool to transfer their data from one domain to another with just a few clicks. The software has sufficient capacity to manage batch migrations and perform tasks transparently.
3. Track the migration process in real-time:
When the migration process is started in this tool, the real-time progress of the task will be displayed. You can simultaneously monitor migrated mailboxes and track the number of mailbox items processed by the software.
4. Concurrent Migration:
Because many organizations have a large number of user mailboxes that can be used for migration, this Office 365 Migration Tool simplifies your work.
The application supports concurrent migration, where up to 200 mailboxes can be exported simultaneously. You need to add 10 service accounts to reach this number. This makes the migration activity quick and effective.
5. Simple GUI:
When we create this tool, our goal is to create a simple user interface. Users only need to have the basic technical knowledge and can complete the migration task on their own. You don’t need to install any external applications to run the software on your system.
How to Use Automated Tool For Office 365 Cloud to Cloud Migration
1 Install the software, then select Office 365 as your source and destination.
2 On the same screen you can select the items to migrate (email, contacts, calendars, documents).
- The “Document Migration” permission is also provided and the “Group Mapping” option can be enabled as needed.
- The date-based filter option can also be used to transfer selective mailbox data from one domain to another Office 365.
- Click Next.
3 Now, use your admin ID and application ID to log into your Office 365 source, then click the verify button.
4 Use the admin ID and application ID to log into the Office 365 destination, then click the “Verify” button.
5 Now, you need to create a mapping between the source and target users. To do this, the tool provides multiple options: get users, import users, download templates. Choose anyone.
6 Now that the mapping has been created, click the “Verify” button to check the permissions.
7 Click the “Start Migration” button to move the user’s mailbox from the domain to another Office 365.
Final words
An acquisition can be a major change for many companies. Ensuring a smooth transition of employees to the new organization is the primary concern of employers.
Above all, this work must continue without causing too much attention. The business must be restored as before the acquisition.
Employees and their accounts should pass smoothly. Admins need to ensure proper planning for Office 365 cloud to cloud migration.
Read more: Save Excel Contacts to MSG Format Mac – Know The Best Solution Here


Add Comment